Step 1: Open your PrestaShop admin. Navigate to the Advanced Parameters → Webservice and click Add new webservice key

Step 2: In the Permissions section, please check All next to all Resources (scroll down to make sure all are enabled) and then click Generate and Save.

* All permissions for all resources should be enabled*
(The screenshot only shows the top six resources)
Step 3: Copy the Key, make sure it's Enabled, and in the Configuration section, make sure Enable PrestaShop's webservice is set to Yes, then Save

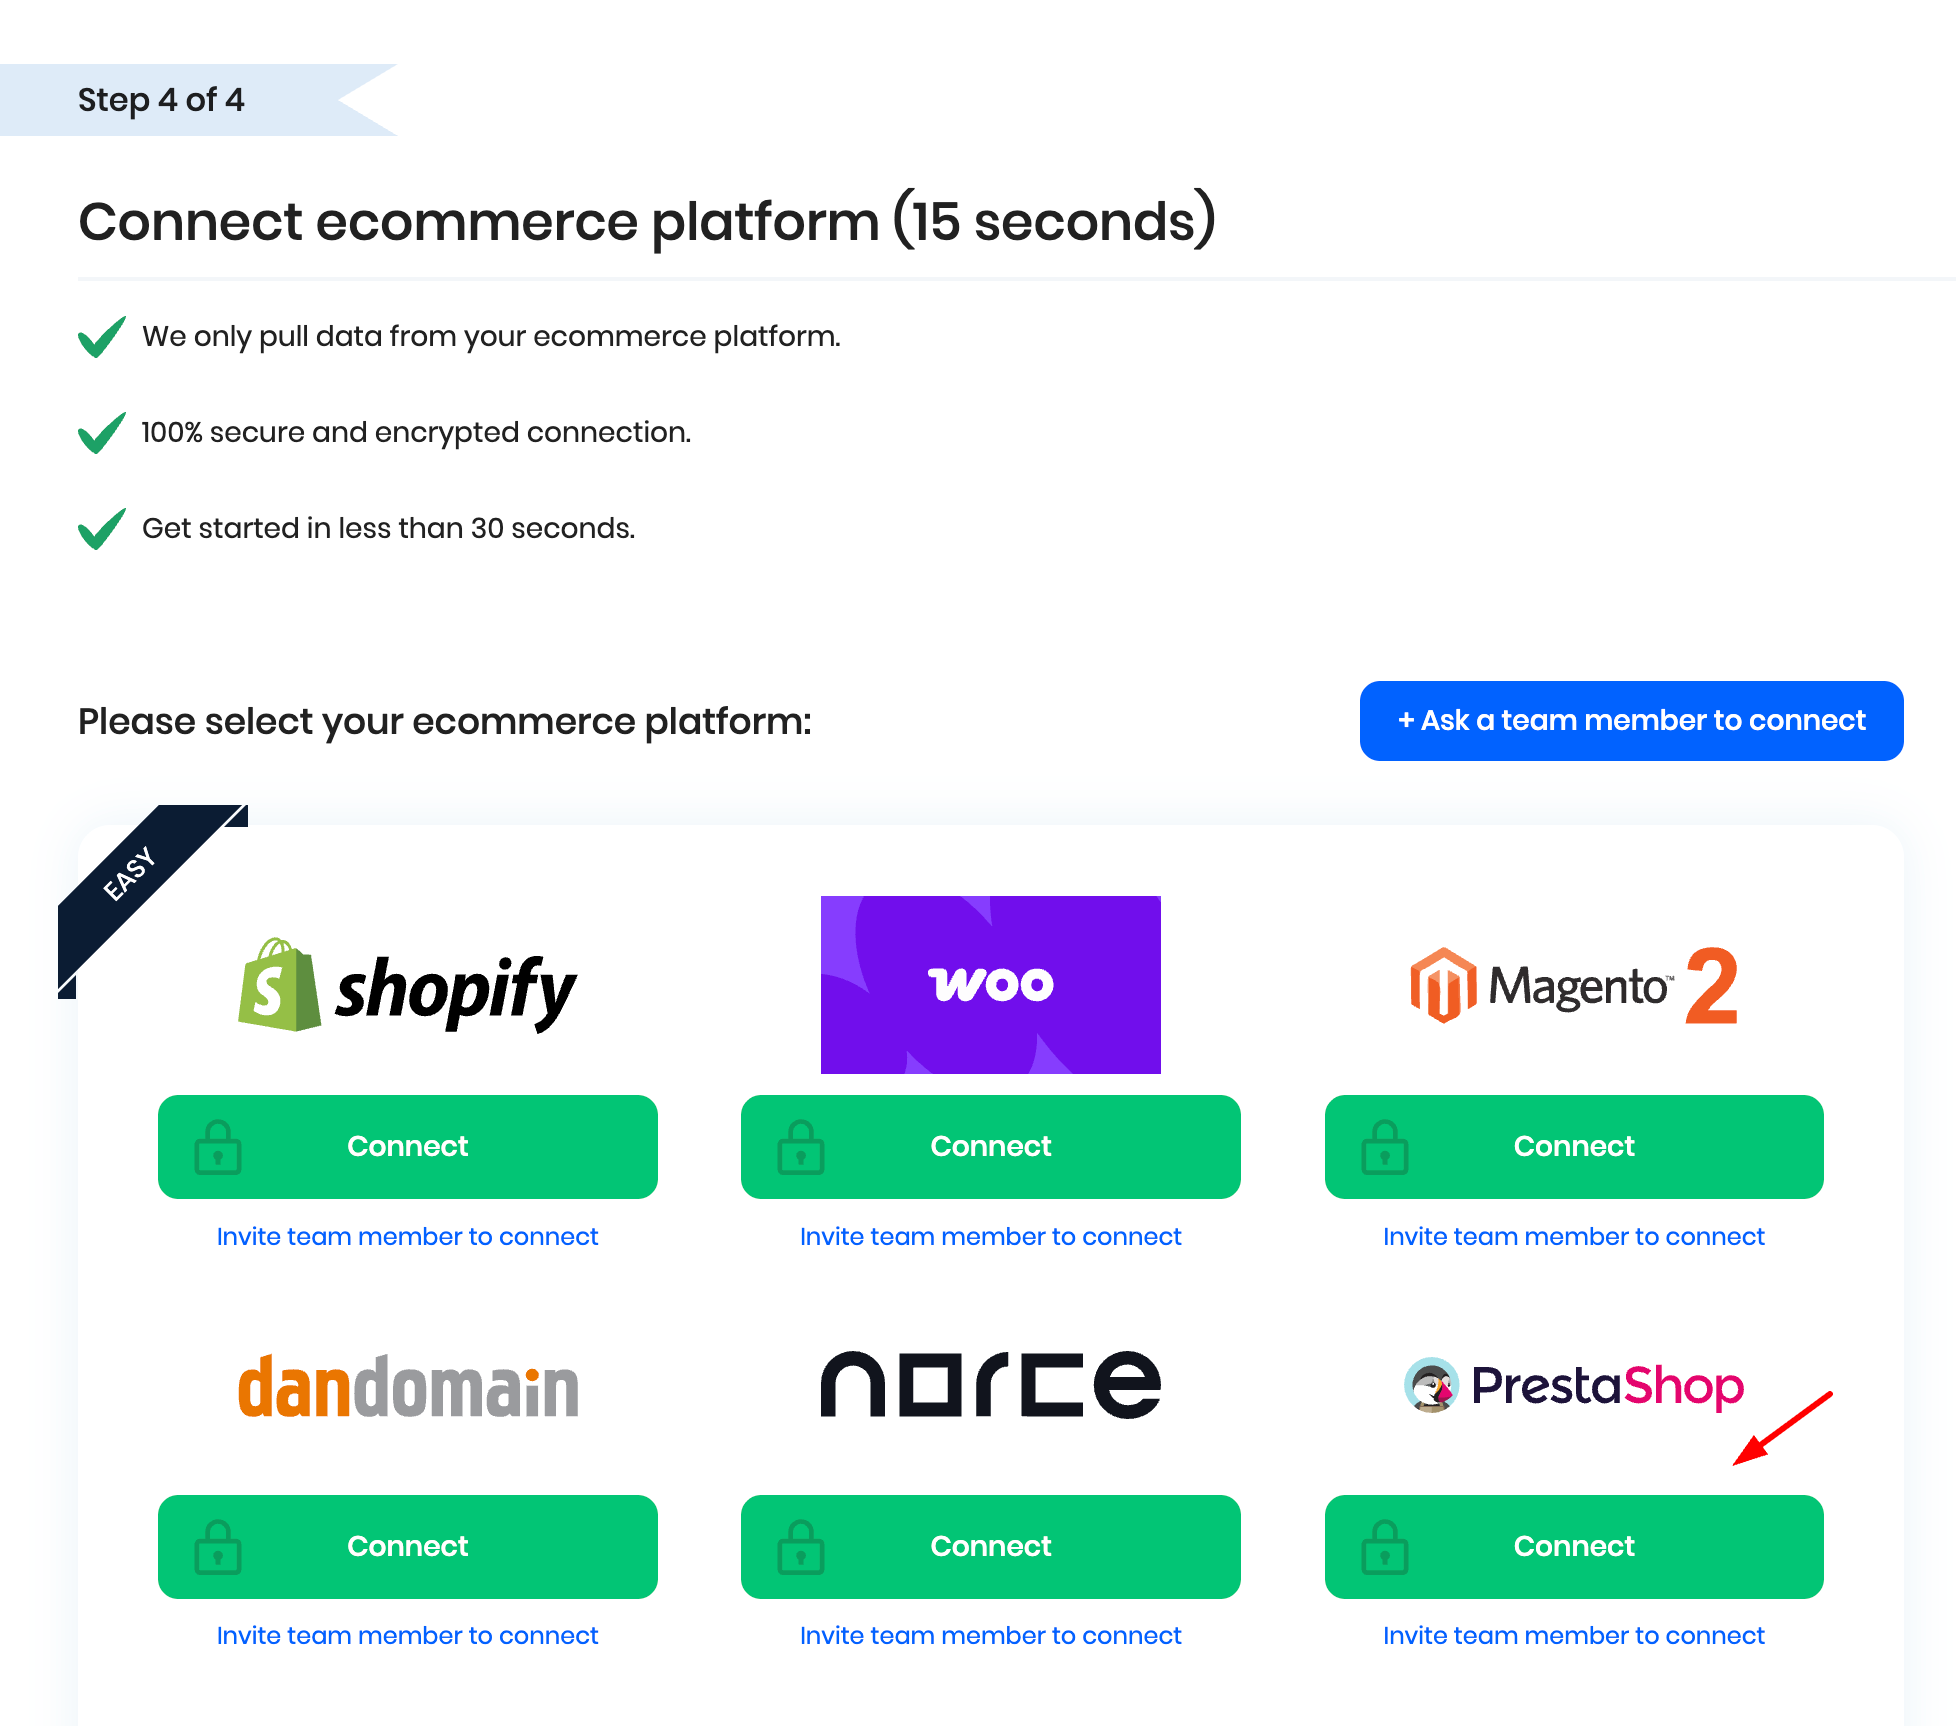
Step 4: In Reaktion, click Connect next to PrestaShop and paste your store's URL and the webservice key

Step 5: Then, navigate to Tracking and click Manage next to Google Tag Manager

Step 6: Copy the script and insert it via Google Tag Manager on All Pages of the store.
See this full guide on adding our tracking script via Google Tag Manager.

Step 7: Install the Reaktion plugin in PrestaShop
Instead of manually editing the Order Confirmation Page template, install the Reaktion plugin at the end of the guide in your PrestaShop Back Office.
PrestaShop 1.7, 8.1, and 8.x
1. Go to Modules > Module Manager in your PrestaShop Back Office.
2. Click Upload a module.
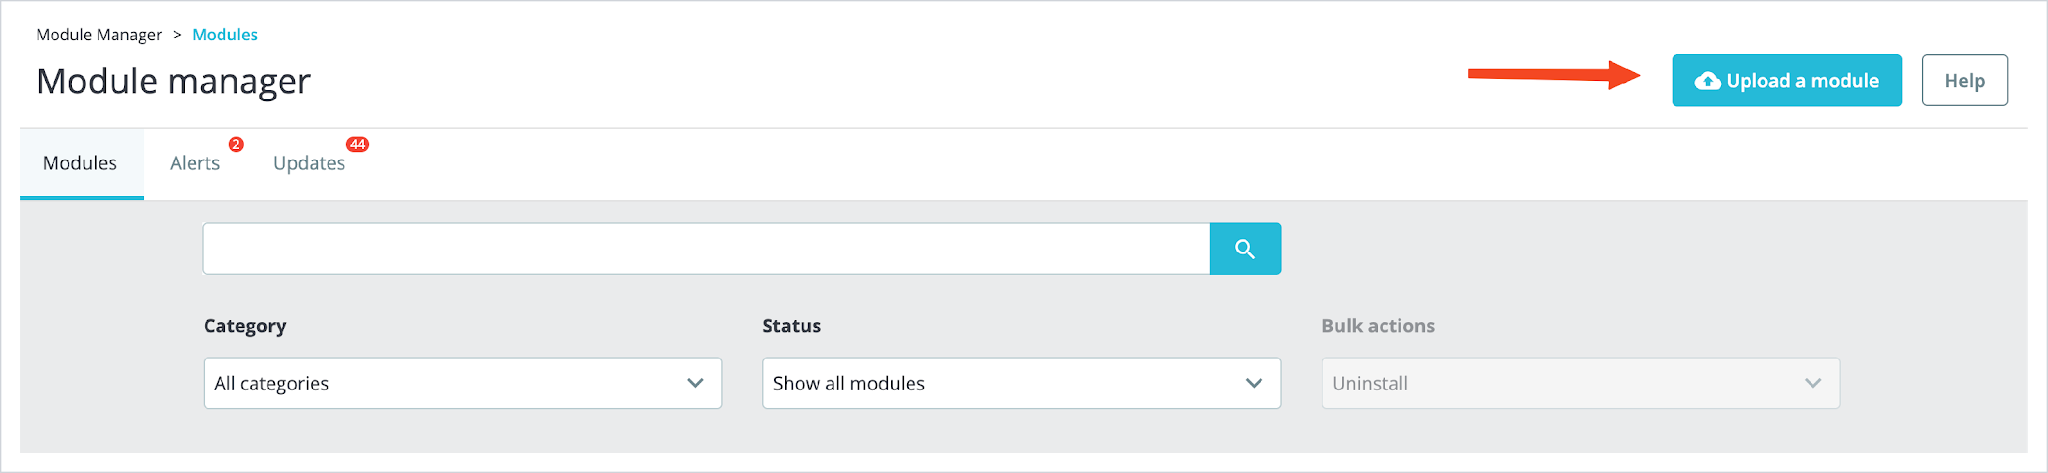
Open Module Manager and click Upload a module
3. In the upload window, click select file and choose the Reaktion plugin archive (reaktion.zip).
4. Wait for PrestaShop to finish the installation automatically.
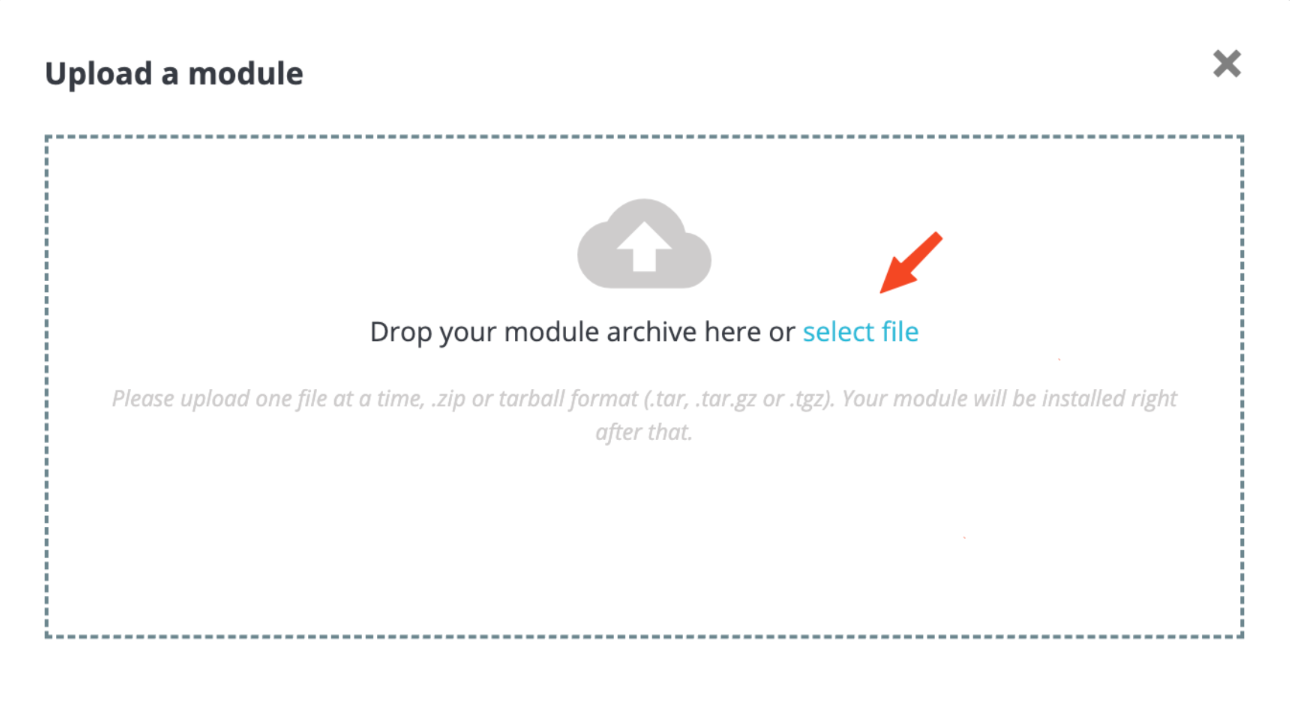
Select the Reaktion plugin ZIP file
5. Reload the page and scroll down to the Other section.
6. Confirm that Reaktion.com server-side tracking module is visible and installed.
(If the button shows Disable, the plugin is already active.
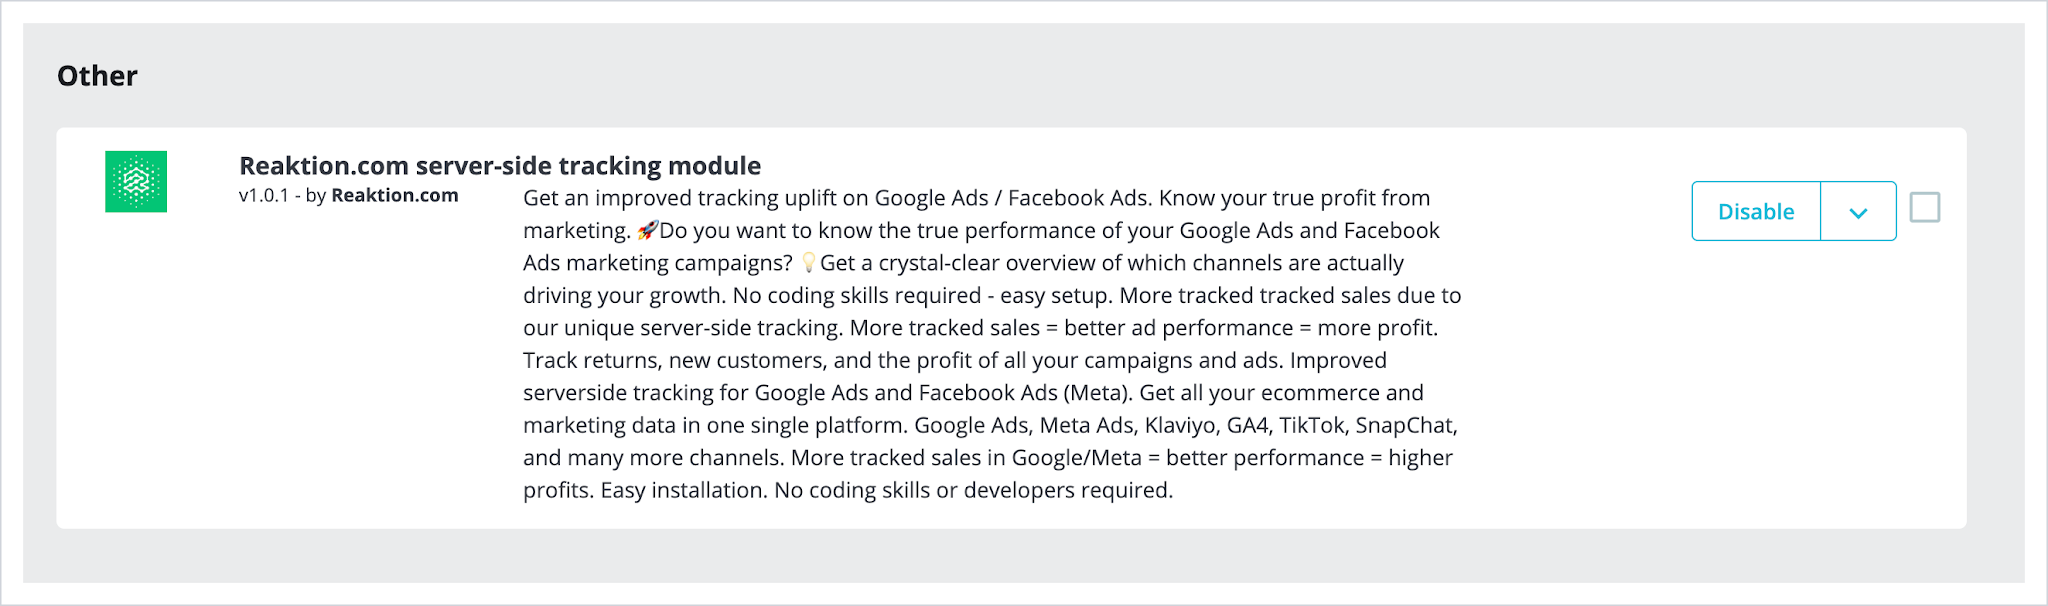
Reload the page, scroll down, and confirm the module is installed
PrestaShop 1.6
Use the same plugin installation flow from Modules > Module Manager.
The plugin replaces the manual step where the order ID script would otherwise need to be inserted into the Order Confirmation Page template.
Done! This completes the PrestaShop tracking setup.
Was this article helpful?
That’s Great!
Thank you for your feedback
Sorry! We couldn't be helpful
Thank you for your feedback
Feedback sent
We appreciate your effort and will try to fix the article